


Başlarken
Hoş geldiniz
Notla; koordinatörlerin ders ve kullanıcı yönetimi yapabildiği, öğretmenlerin ödev/sınav oluşturup öğrenci kağıtlarını yapay zekâ destekli olarak değerlendirebildiği bir eğitim platformudur. Bu kılavuz, gündelik iş akışlarını ekran ekran adım adım anlatır.
Başlarken
Notla'ya genel bakış, sisteme giriş ve arayüzün ana bölümleri.
Ders ve Kullanıcı Yönetimi
Kullanıcı ekleme, ders oluşturma sihirbazı ve ders düzenleme adımları.
Ödev/Sınav Oluşturma
Taslak yükleme, soruları ekleme ve sayfa bölgelerini işaretleme.
Notlandırma ve Sonuçlar
AI ayarları, otomatik notlandırma, manuel inceleme ve raporlar.
Bu kılavuz kim için?
Notla'yı yeni kullanmaya başlayan koordinatörler ve öğretmenler için yazıldı. Tek bir akış halinde, gerçek bir kursun ilk gününden öğrenci notları yayınlanana kadar olan adımları sırayla takip edebilirsiniz.
- Koordinatörseniz önce Kullanıcıları yönetme ve Ders oluşturma bölümleri ile başlayın.
- Öğretmenseniz size atanmış bir derse girip doğrudan Ödev/sınav oluşturma bölümünden devam edebilirsiniz.
- Mobil tarayıcı uygulaması için ayrı bir bölüm bulunur: Notla Tarayıcı.
Tipik bir akış
Yeni bir dersi sıfırdan yayına alana kadar süreç genellikle şu sırayla işler:
- Kullanıcıları hazırla. Öğretmen ve öğrencileri tek tek veya CSV ile toplu olarak ekleyin.
- Ders oluştur. 3 adımlı sihirbaz ile ders bilgilerini girin, öğretmen atayın ve öğrencileri kaydedin.
- Ödev/sınav oluştur. Ders sayfası içinden yeni bir ödev veya sınav açın, kayıtlı tüm öğrencilere atayın.
- Taslak ve soruları ekle. PDF veya görsel taslağı yükleyin; AI soruları analiz etsin, gerekirse puan ve kriterleri düzenleyin.
- Sayfa bölgelerini işaretle. Her sayfada hangi alanın kimlik, soru ve cevap bölgesi olduğunu belirleyin.
- Öğrenci kağıtlarını yükle. Web'den PDF olarak ya da Notla Tarayıcı mobil uygulamasıyla taranmış kağıtları sisteme aktarın.
- Otomatik notlandırmayı çalıştır. AI ayarlarını gözden geçirin, soruları seçin ve değerlendirmeyi başlatın.
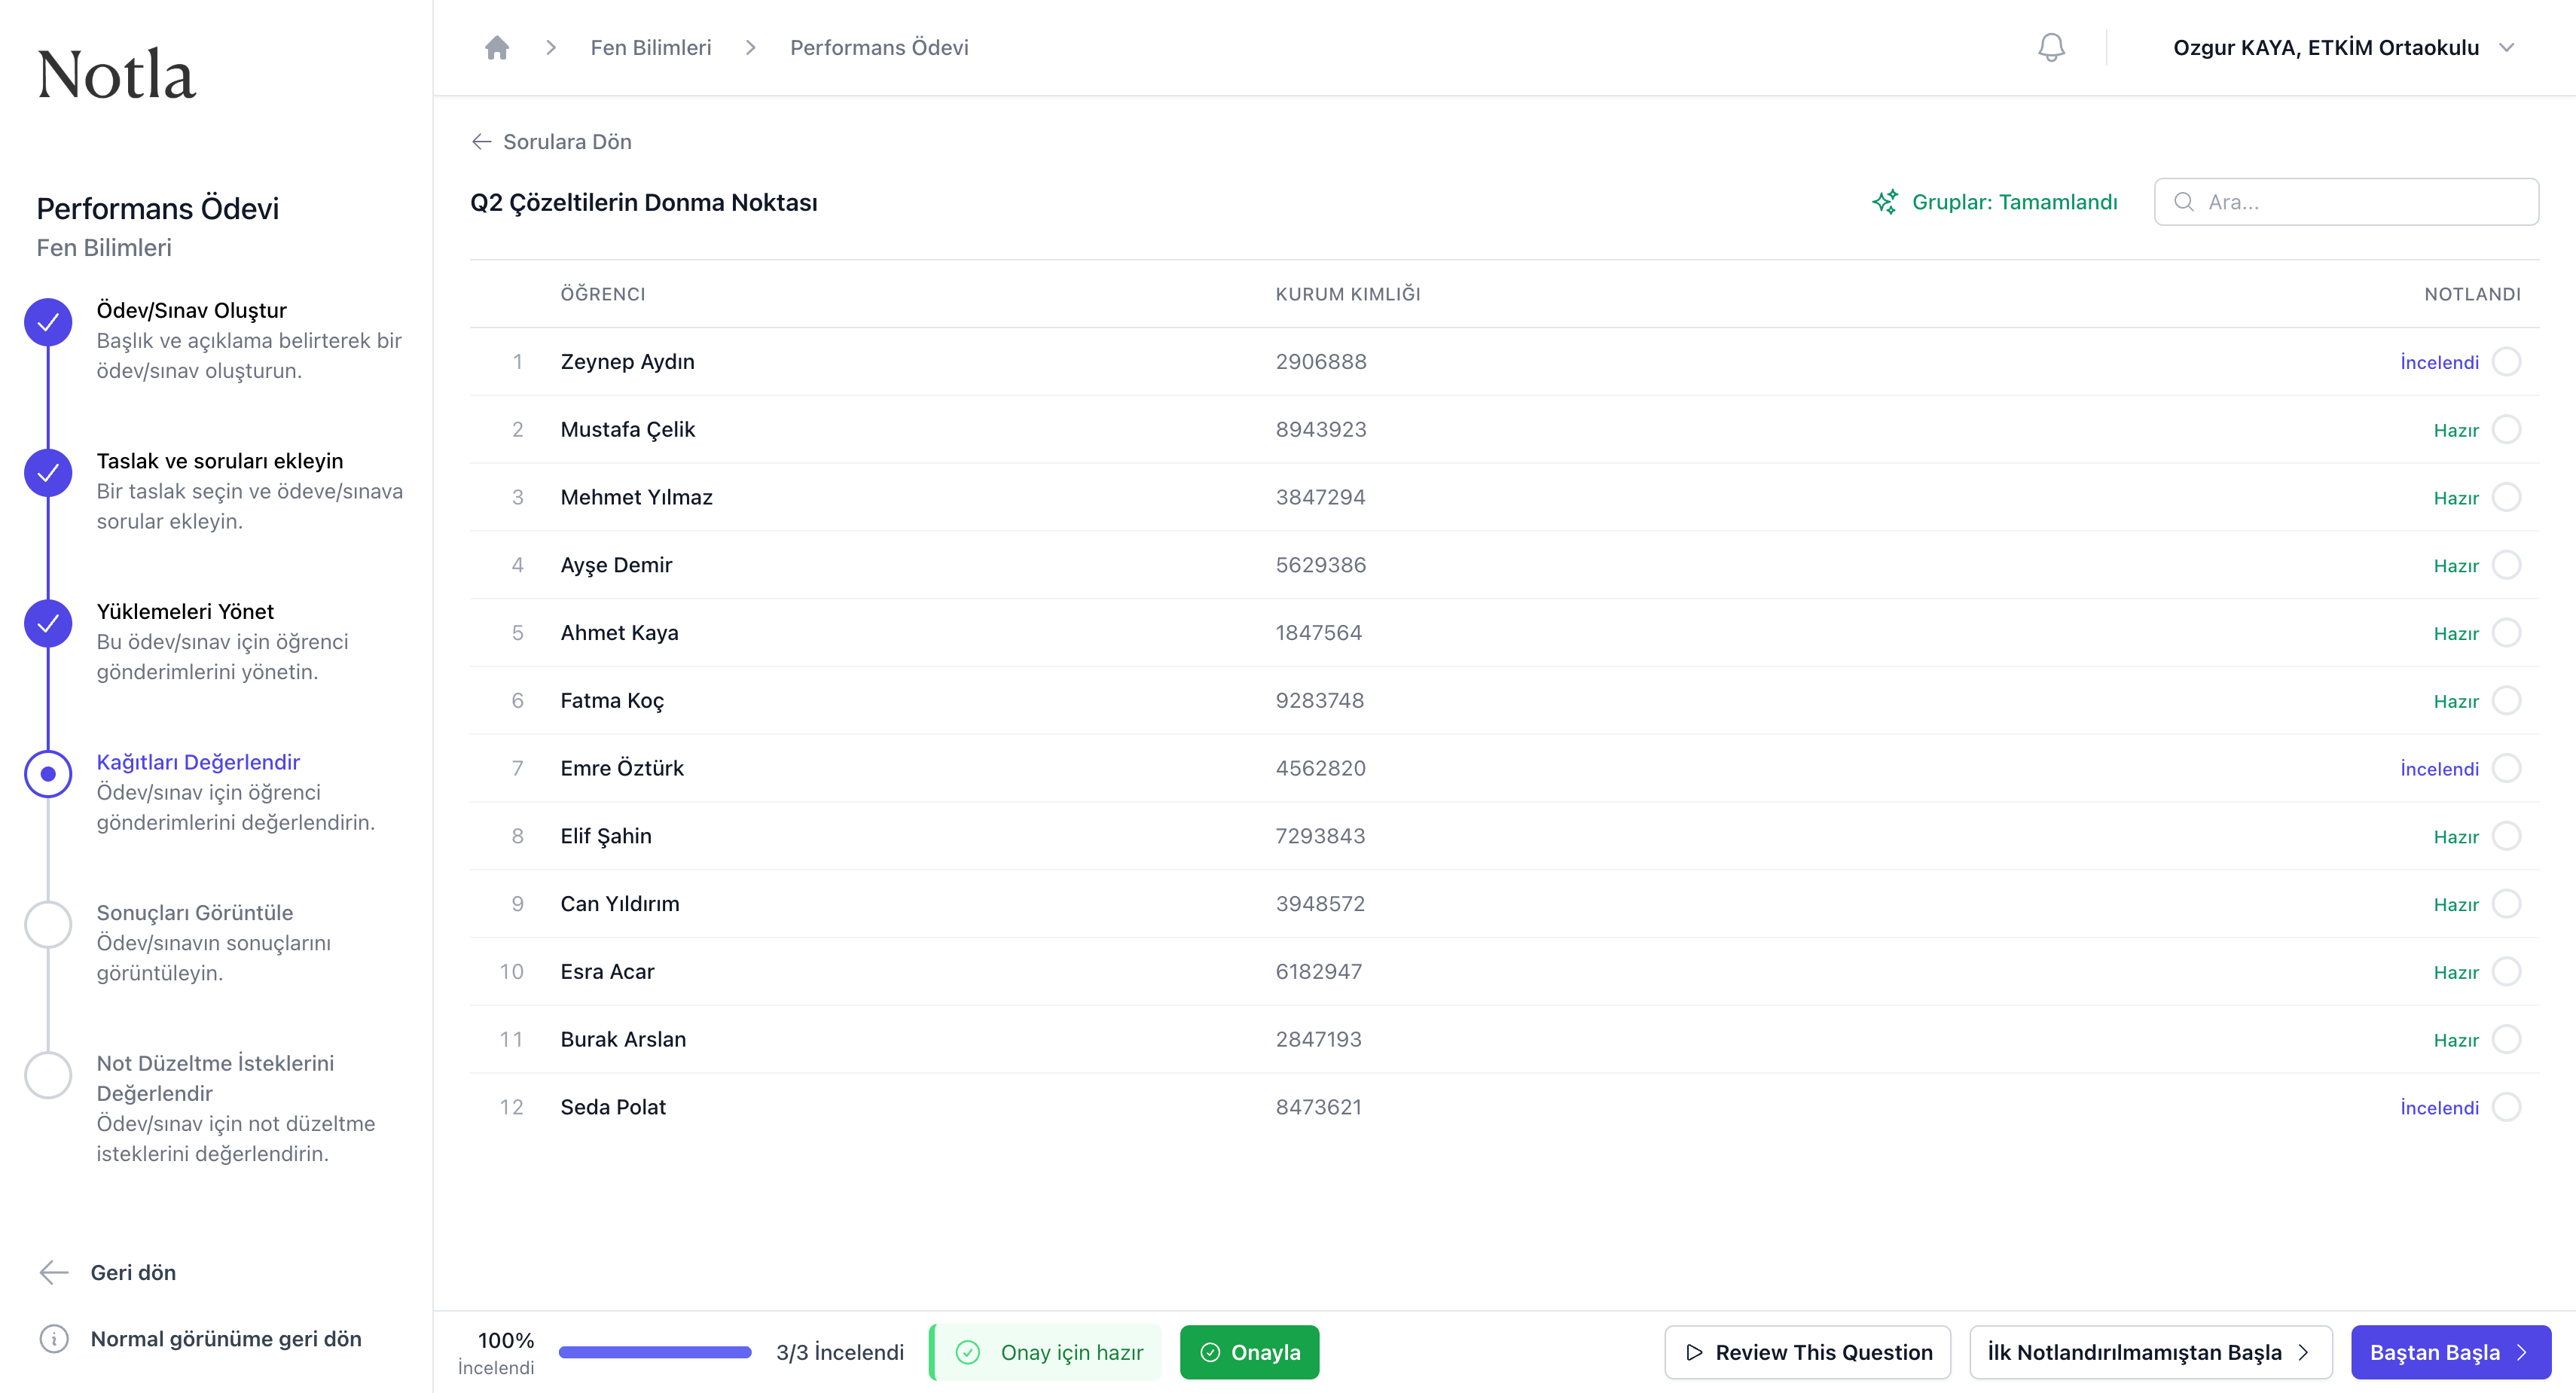
- İnceleyip yayınla. Düşük güven skorlu gönderimleri elle gözden geçirin; ardından notları yayınlayın.
- Sonuçları paylaş. İstatistikleri, soru bazında ortalamaları ve dışa aktarımları kullanın.
Demo verisi
Bu kılavuzdaki ekran görüntüleri demo bir kurumdan (Başkent Demo / ETKİM Ortaokulu) alınmıştır. Sizin görünümünüz; rolünüze, kurumunuza ve kayıtlı kullanıcılarınıza göre farklılaşacaktır.